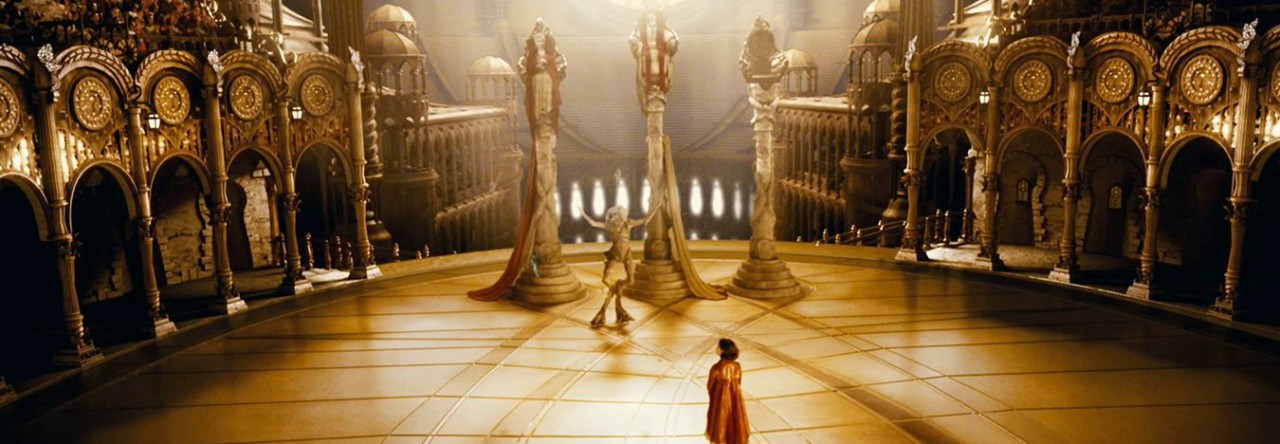
Here’s one example of advances in technology and performance-capture that are happening right now.
Category: Technology Page 1 of 4

HDSLR cameras shoot 16:9, which is fine, but sometimes you want a more cinematic look. The two perhaps most common ratios are 1.85:1 (Academy Flat) and 2.35:1 (Cinemascope). Read more about cinema aspect ratios here.
I edit in Premiere CS5, and there are two ways I can export my videos with wider aspect ratio. I can export with letterboxing (black stripes masking the upper and lower parts of the image), or I can crop the the video when I export with Media Encoder.
Let me show you how.
First, you need to see exactly what parts you’re cropping out. You do this by applying a mask with the appropriate aspect ratio to a video layer above your footage. You can do this in Premiere’s Title tool or in Photoshop. My video is full HD, that is 1920×1080 pixels – so I made a Photoshop document with those dimensions. Then I draw two black rectangles and place them at the upper and lower edges of the image. If I want to go Cinemascope I crop 132 pixels – so I make the rectangles 1920×132 pixels. (Note: this isn’t excactly 2.35, but close enough, and actually avoids some exporting problems.)
 Then I export this image as a PNG-file with transparent background, so only the black rectangles, the letterbox, is visible. You can download and use mine, if you like. Just click the image on the right to get the full size, and right-click to save.
Now you’re ready to import the mask into Premiere, and place it on top of all the other video layers.
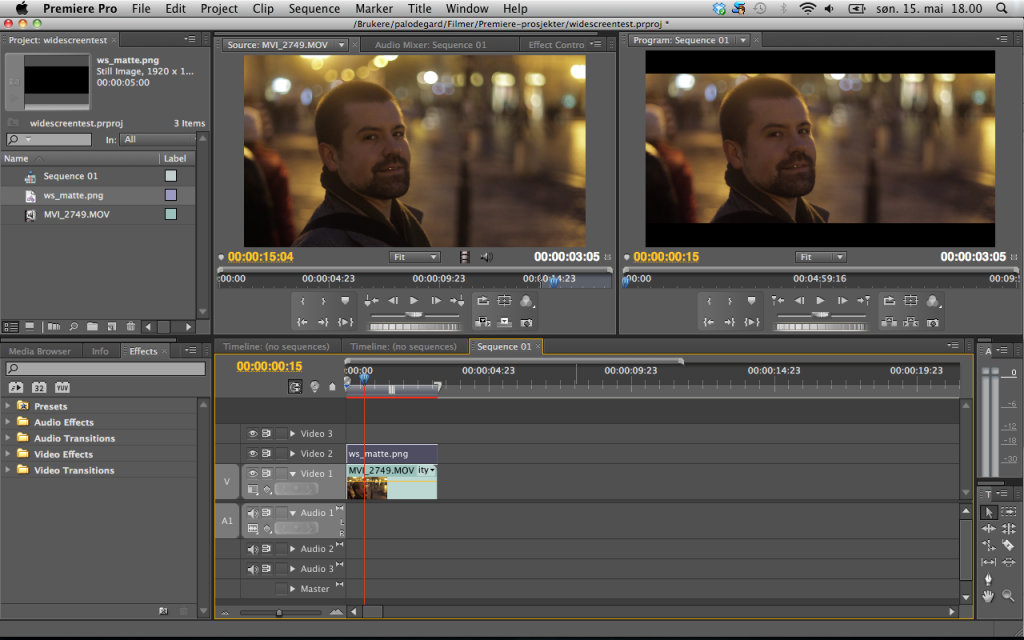
Here’s an example of mine, with the original footage seen in the source monitor (left) and the cropped image in the program monitor (right). Notice the matte being on the topmost layer in the timeline, and of course stretched to cover the entire length of the footage.
 Once you’ve done this you have some headroom to move your footage vertically. Make sure you don’t cut any heads or lose any valuable information.
Once you’ve positioned all your footage correctly and applied any effects and transitions, you’re ready to export. Go to File>Export>Media to open the Media Encoder.
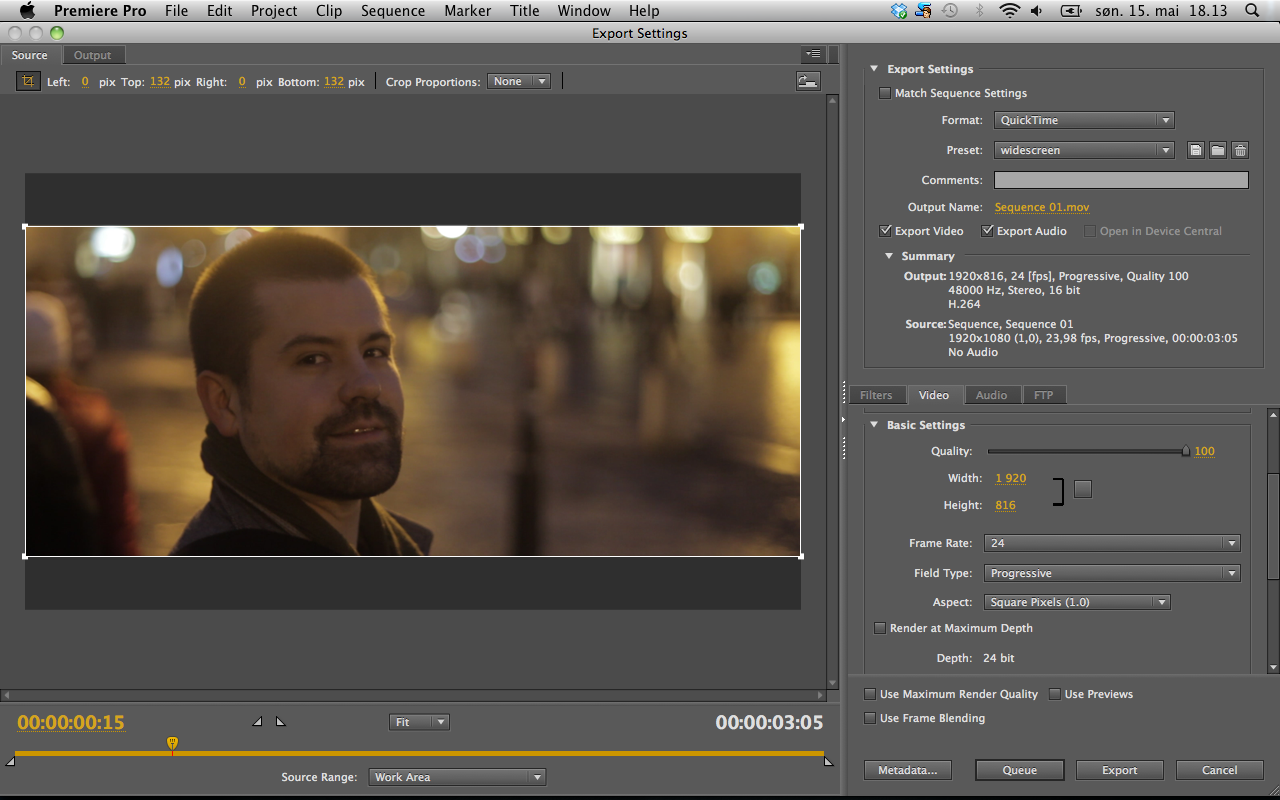
In your source monitor you have your cropping options above the image. Specify 132 px for top and bottom. Then choose your export settings, for example QuickTime H.264, and under Video>Basic Settings make sure you specify a width of 1920 and a height of 816. Make sure your frame rate and Field Type (Progressive) is correct, and your Aspect should be square pixels. To save some work next time, save your settings as a preset. Here are my settings:
 Now you can go ahead and export, and end up with a nice widescreen video without letterboxing. Videos of this type are great to upload to Vimeo, but YouTube always adds letterboxing anyway, I think.
Here’s Philip Bloom explaining how to do all this in Final Cut Pro:

